Getting Started with OBS: Essential Settings for Streamers
Getting started with OBS (Open Broadcaster Software) can be a daunting task for new streamers, but understanding the essential settings will make the process much smoother. First and foremost, it's crucial to configure the Video Settings. Navigate to Settings > Video, and set your Base (Canvas) Resolution to match your monitor's resolution, and your Output (Scaled) Resolution to the desired streaming resolution, typically 1920x1080 or 1280x720. Additionally, choose a Common FPS Value that balances quality and performance; 30 FPS is a reliable choice for many new streamers.
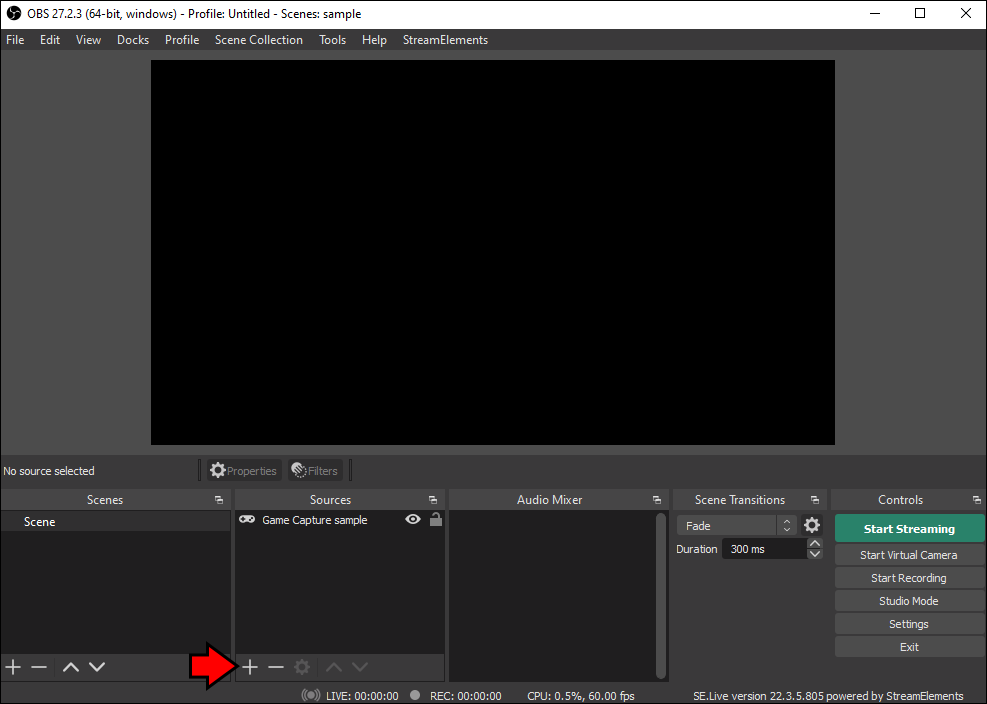
Once you've addressed your video settings, the next vital step is configuring your Audio Settings. Under Settings > Audio, ensure that you select the appropriate devices for both your Desktop Audio and Mic/Auxiliary Audio. It's often beneficial to set the Sample Rate to 48 kHz for optimal quality. After adjusting these settings, consider using the Audio Mixer in the main OBS interface to balance your audio levels and to mute or adjust specific audio sources while streaming. These foundational settings in OBS will set you on the right path towards creating engaging and professional-quality streams.
Top 10 OBS Plugins to Enhance Your Streaming Experience
When it comes to elevating your streaming game, utilizing the right tools is essential. OBS (Open Broadcaster Software) is a favorite among streamers for its versatility and customization options. Among various enhancements, plugins can significantly improve your streaming experience. Here are the Top 10 OBS Plugins to consider:
- OBS Studio Audio Monitor - This plugin allows you to monitor your audio inputs and outputs directly in OBS, ensuring clear sound quality for your stream.
- StreamElements AlertBox - Engaging viewers is crucial, and this plugin displays customizable alerts for new followers, subscribers, and donations.
- Move Transition - With this plugin, transitions between scenes become smooth and professional, enhancing the overall viewing experience.
- OBS-websocket - Control OBS remotely via web sockets, making it easier to integrate with other streaming tools.
- StreamFX - A powerful plugin that adds a set of visual effects to enhance your stream, including 3D effects and new transitions.
- Advanced Scene Switcher - Automate scene changes based on various conditions for a dynamic stream without needing manual intervention.
- Replay Buffer - Capture and replay moments in your stream with ease, making it perfect for highlighting epic gameplay.
- OBS Color Key - Improve your green screen effects with advanced color keying options that enhance the separation between your subject and the background.
- Streamlabs OBS Widgets - Easily integrate interactive widgets that boost viewer engagement, including chat boxes and donation alerts.
- Text OSD - Display dynamic text overlays on your stream, perfect for announcing special events or updates.
How to Troubleshoot Common OBS Streaming Issues
Streaming with OBS (Open Broadcaster Software) can sometimes present common issues that disrupt your broadcasts. First, check your internet connection; a slow or unstable connection can lead to lag or buffering in your stream. Ensure that your upload speed is sufficient for the bitrate you are using. Additionally, verify your OBS settings by navigating to Settings > Output. Under the streaming section, make sure your bitrate is set appropriately based on your internet speed and the platform you're streaming to.
If you encounter audio issues, such as no sound or problems with audio quality, start by checking your audio settings. In OBS, go to Settings > Audio and ensure that the correct devices are selected for both Desktop Audio and Mic/Auxiliary Audio. Furthermore, monitor your audio levels to ensure they are not muted or too low. If all settings appear correct and the issue persists, consider updating your audio drivers or restarting OBS. For persistent frame drops or stuttering, try lowering the resolution or frame rate in your streaming settings.